 English
 中文简体
-
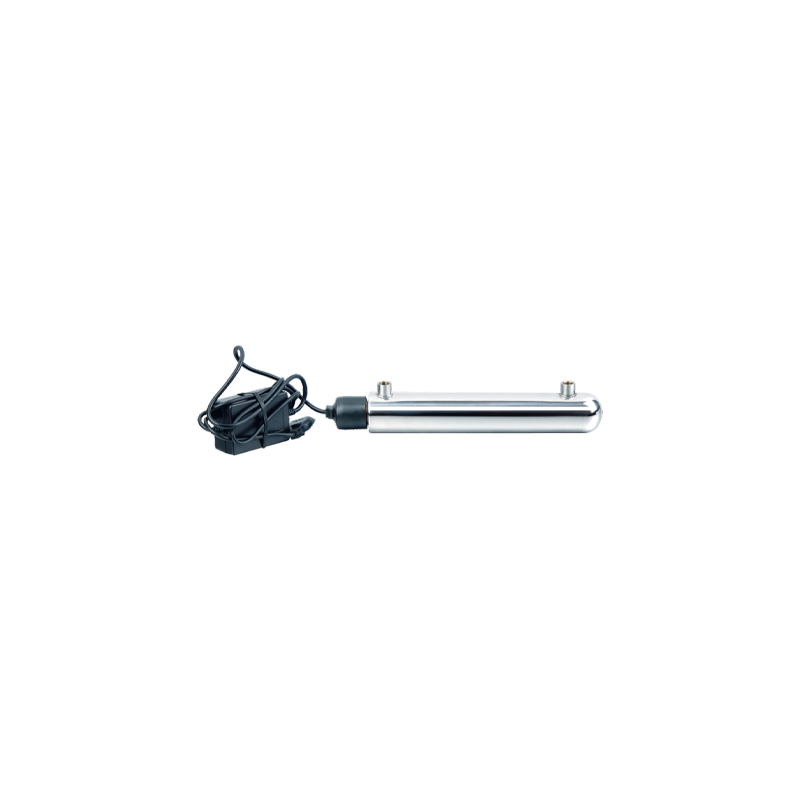 UV11W High-efficiency Intelligent UV Water Sterilizer Cat:Ultraviolet Water Sterilizer
The UV11W High-efficiency Intelligent UV Water Sterilizer is an advanced water purification system that offers convenience and reliability. This steri...
See Details -
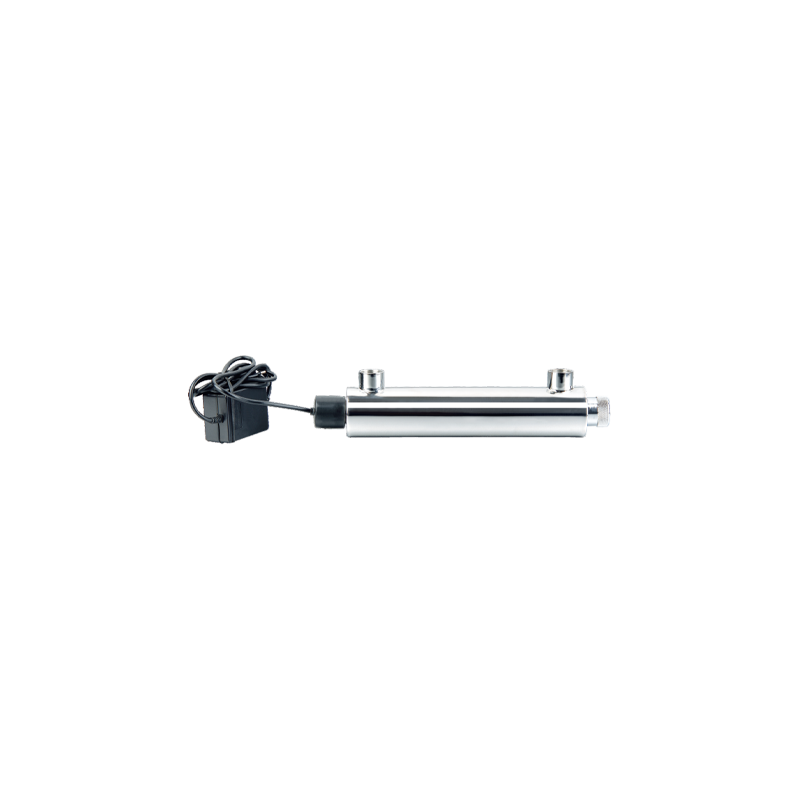 UV16W-A Household Stainless Steel UV Water Sterilizer Cat:Ultraviolet Water Sterilizer
The UV16W-A Household Stainless Steel UV Water Sterilizer is an innovative solution for ensuring safe and pure water in your home. Designed with durab...
See Details -
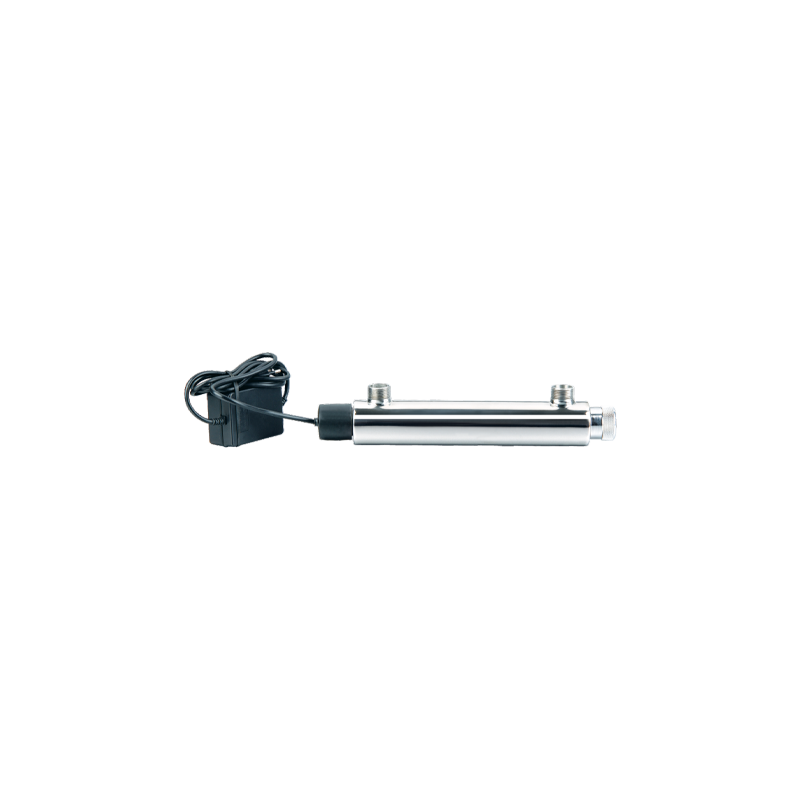 UV16W-B 304 Stainless Steel Water Purifier Ultraviolet Water Sterilizer Cat:Ultraviolet Water Sterilizer
UV16W-B 304 Stainless Steel Water Purifier Ultraviolet Water Sterilizer is an efficient water treatment equipment based on advanced ultraviolet disinf...
See Details -
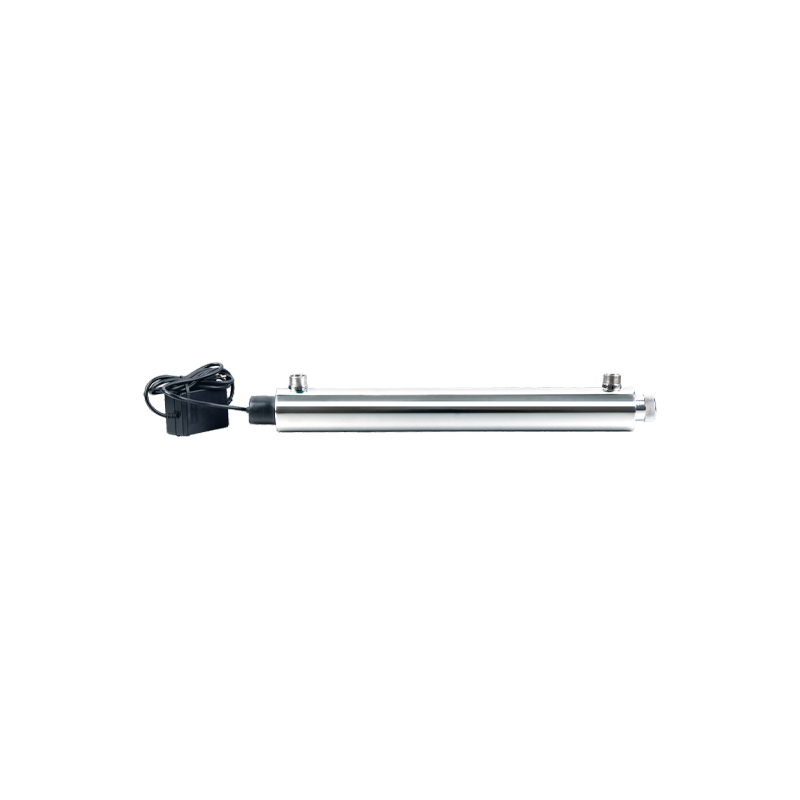 UV25W Stainless Steel Ultrafiltration Pre-Filtration UV Sterilizers For Water Cat:Ultraviolet Water Sterilizer
UV25W Stainless Steel Ultrafiltration Pre-Filtration UV Sterilizers For Water uses high-quality stainless steel materials, which have superb corrosion...
See Details -
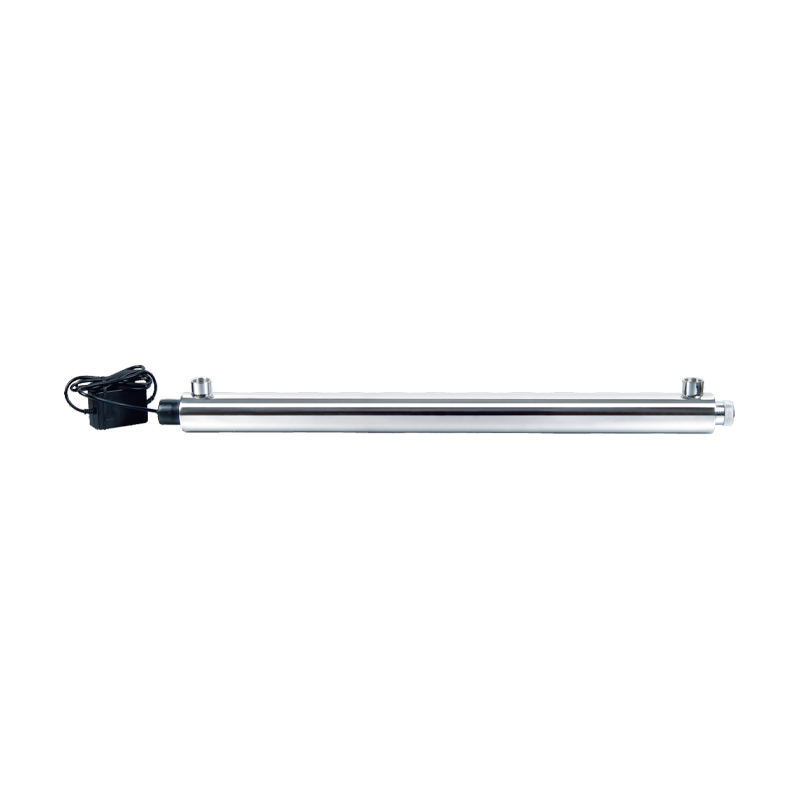 UV30W-55W Automatic Ultraviolet Sterilizer UV Filtration For Drinking Water Cat:Ultraviolet Water Sterilizer
The core advantage of UV30W-55W Automatic Ultraviolet Sterilizer UV Filtration For Drinking Water lies in its efficient and rapid disinfection capabil...
See Details -
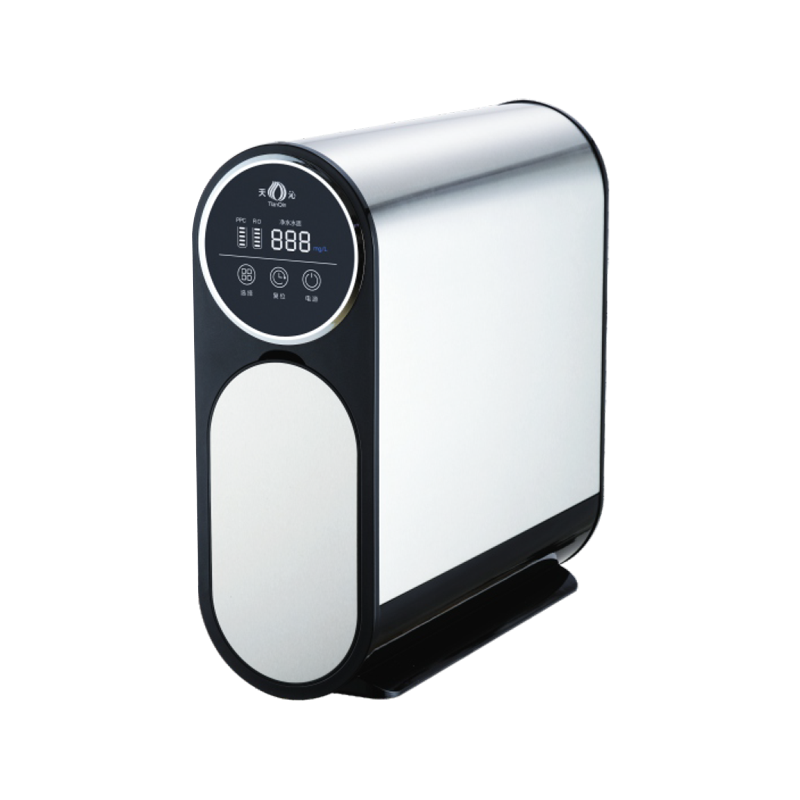 TQ-R03 Stainless Steel Booster Double Water Full Effect RO Water Purifier Cat:Stainless Steel Ro System
TQ-R03 Stainless Steel Booster Double Water Full Effect RO Water Purifier is a household water purification device that combines efficient water purif...
See Details -
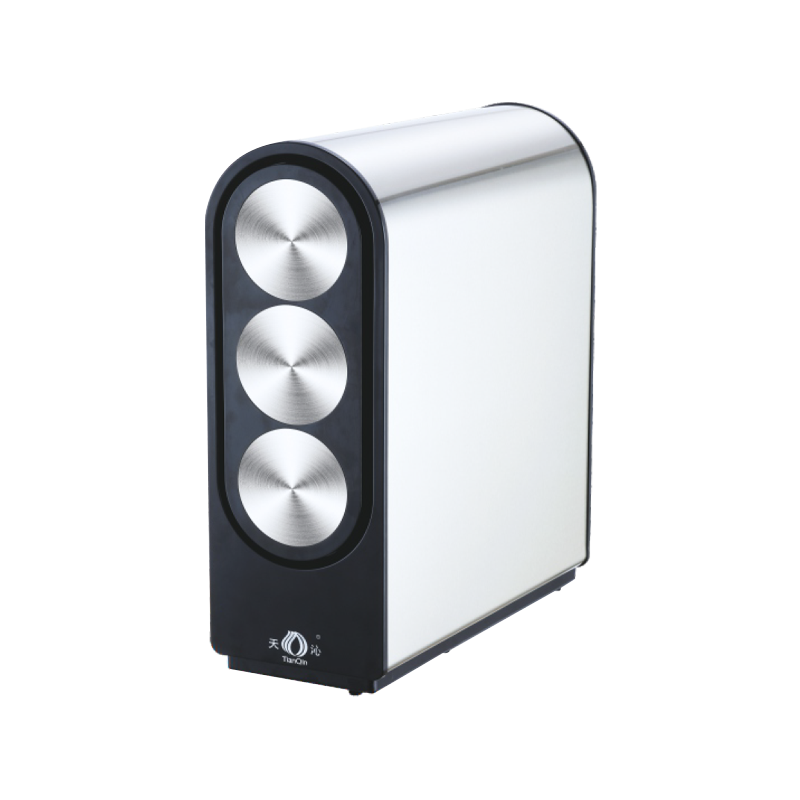 TQ-R05 Multifunctional Water Purification Source RO Water Purifier Cat:Stainless Steel Ro System
The TQ-R05 Multifunctional Water Purification Source RO Water Purifier is an advanced, versatile water purification solution designed for households a...
See Details -
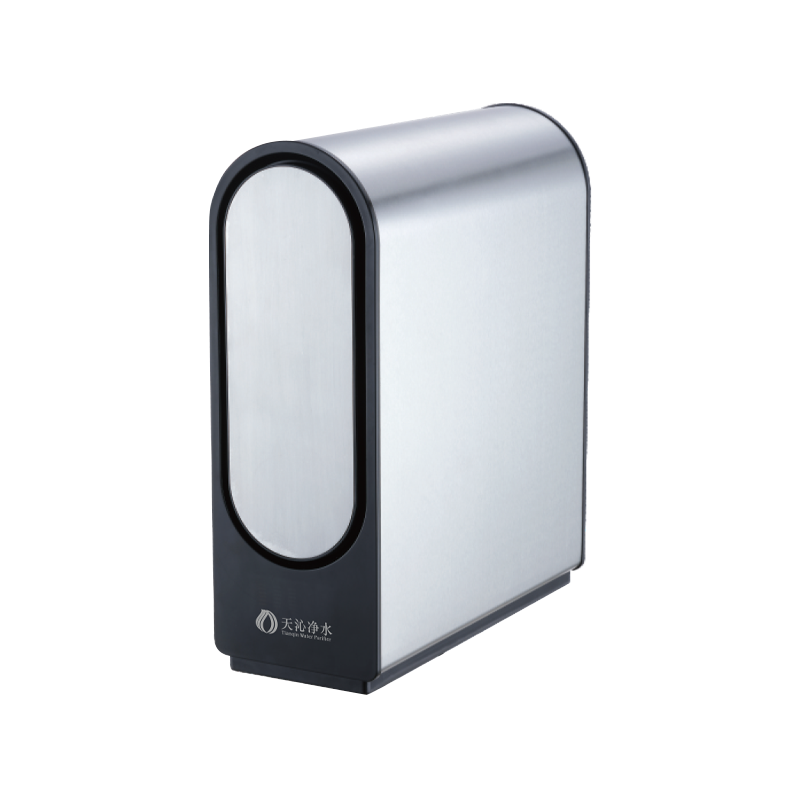 TQ-R06 Stainless Steel Environmentally Friendly RO Water Purifier Cat:Stainless Steel Ro System
The TQ-R06 Stainless Steel Environmentally Friendly RO Water Purifier combines advanced RO filtration technology, durable stainless steel housing, and...
See Details -
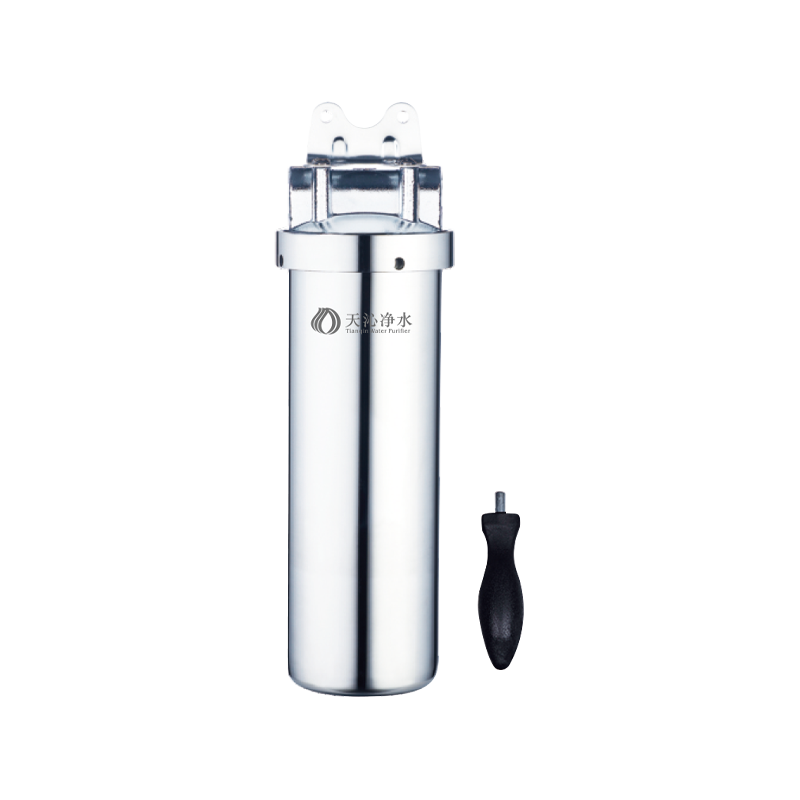 Stainless Steel Pure Double Water Pipe Water Purifier Cat:Stainless Steel Pipeline Water Purifier
The Stainless Steel Pure Double Water Pipe Water Purifier is an advanced water purification system designed to provide dual-mode purified water with e...
See Details -
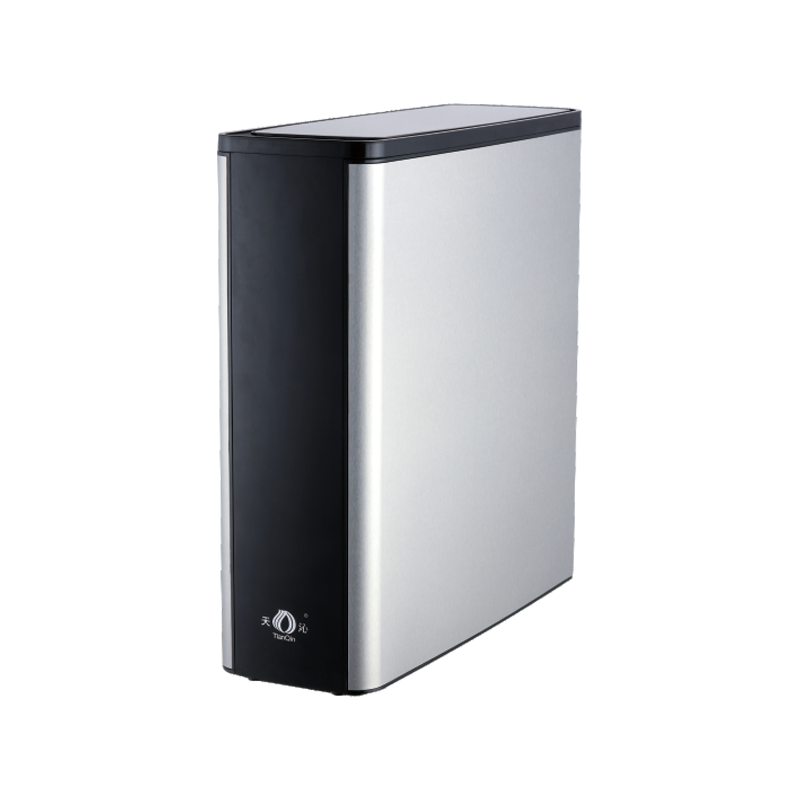 TQ-R08 Stainless Steel High-Flow RO Water Filter Cat:Stainless Steel Ro System
The Stainless Steel High-Flow RO Water Filter (TQ-R08) provides a powerful and effective solution for purifying drinking water, combining advanced rev...
See Details


 +86-0574-62381077/62386875

How to Replace 3-Stage Reverse Osmosis Replacement Filters: Step-by-Step Guide
Reverse osmosis systems can deliver excellent water for years, but only if the filters are changed on time. In our experience as a manufacturer of water purification equipment, the 3-stage reverse osmosis replacement filters are the most commonly neglected part of the system. The first three cartridges - sediment, granular carbon, and carbon block - do the heavy lifting before water ever reaches the membrane. When they clog or become exhausted, everything downstream suffers. The good news is that replacing them is simple, inexpensive, and takes less than an hour.
Content
What Are the Three Stages in a 3-Stage RO System?
Most household and light-commercial reverse osmosis systems arrange three cartridges ahead of the membrane. Stage 1 uses a melt-blown polypropylene sediment filter to trap sand, rust, silt, and other particles that would quickly foul a membrane. Stage 2 is usually a granular activated carbon (GAC) cartridge that removes chlorine, which can chemically damage thin-film composite membranes. Stage 3 is a carbon block (CTO) filter that polishes the water by adsorbing organic compounds and the last traces of chlorine. Together, these three stages protect the membrane and condition the water for efficient reverse osmosis.
| Stage | Filter Media | Main Job | Typical Lifespan |
|---|---|---|---|
| 1 | Sediment (PP) filter | Removes sand, rust, silt, and large particles | 6-9 months |
| 2 | Granular activated carbon (GAC) | Reduces chlorine, taste and odor | 6-12 months |
| 3 | Carbon block (CTO) | Adsorbs organic contaminants and remaining chlorine | 6-12 months |
This arrangement is the industry standard, and it is also the layout used across our stainless steel RO product line. On high-efficiency tankless systems such as the TQR14, the pre-filter set carries even more responsibility because there is no storage tank to buffer fluctuations in feed-water quality.
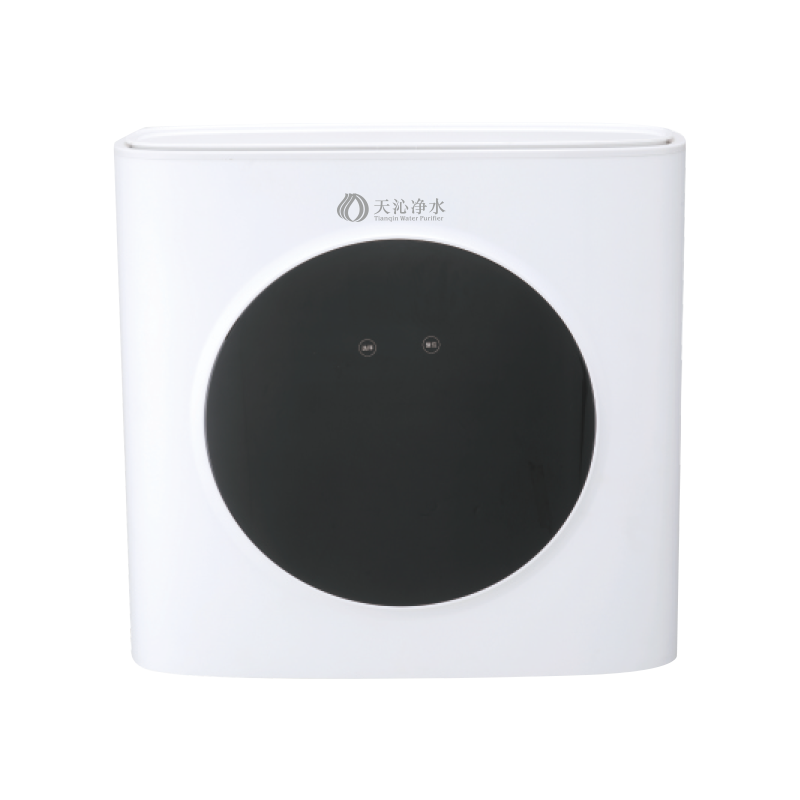 TQ-R14 Tankless Reverse Osmosis System with Pre-Filter SetThis high-efficiency tankless RO purifier relies on its pre-filters to handle feed-water fluctuations without a storage tank. Its LED display and filter-life prompts help you schedule timely replacements, making it a practical choice for consistent water quality.View Product →
When Should the Pre-Filters Be Replaced?
The classic recommendation is every six to twelve months. The exact interval depends on the feed-water quality and on how much water your household consumes. Well water with high sediment, iron, or manganese will shorten the life of stage 1 quickly, while heavily chlorinated municipal supplies will exhaust the carbon cartridges sooner.
Watch for these warning signs:
- Noticeably slower production at the faucet
- A musty, plastic-like, or chlorine taste in the water
- Rising TDS readings on a handheld TDS meter
- Cartridges that look discolored or deformed when inspected
- A whining noise from the booster pump
Treat any of these as a signal to order a replacement set, even if the calendar says otherwise.
| Feed Water Condition | Recommended Interval | Notes |
|---|---|---|
| Municipal treated water | 6-9 months | Standard scheduling for most homes |
| Well or high-sediment water | 4-6 months | Stage 1 may need an extra mid-cycle change |
| High chlorine or organic load | 6 months | Carbon stages will exhaust faster |
Tools and Supplies You Will Need
DIY replacement is inexpensive and does not require specialty tools. Before you start, gather the following:
- The correct 3-stage replacement filter set for your system
- A filter housing wrench, usually included with the unit
- Food-grade silicone lubricant for the O-rings
- A bucket and a few absorbent towels
- Clean gloves to keep the new cartridges free of contaminants
- A permanent marker for dating the new filters
Step-by-Step: How to Replace the Filters
The procedure below matches the standard 10-inch housings used on most domestic RO systems. It takes about thirty to forty-five minutes the first time you do it.
- Turn off the water supply. Locate the feed-water valve on the cold-water line under the sink and turn it off. Also close the ball valve on the storage tank if your system has one.
- Relieve system pressure. Open the RO faucet and let the water run until the flow stops. This drains the lines and makes the housings much easier to unscrew.
- Remove the first housing. Place the bucket under the housing and turn it counterclockwise with the wrench. Expect a small spill of water from the lines.
- Discard the old filter and rinse the housing. Lift the used cartridge out and throw it away, then rinse the housing under running water to remove any settled debris.
- Clean and lubricate the O-ring. Wipe the O-ring, apply a thin layer of food-grade silicone, and seat it back evenly. A misaligned O-ring is the most common cause of leaks after service.
- Install the new cartridge. Drop the filter into the housing, slide the housing back into place, and hand-tighten it. Give it a snug final quarter-turn with the wrench, but do not overtighten.
- Repeat for stages 2 and 3. Match each replacement cartridge to the correct housing. If you mix up the order, the system will not perform as intended.
- Turn the water back on slowly. Open the feed valve a little, keep the RO faucet open, and check each housing for drips. Let the water run for five minutes to purge air and carbon fines.
If this is your first replacement, take a photo of the old cartridges before you remove them. The photo will confirm the correct order when you install the new set.
Flushing and Final Checks
Flushing is not optional. It removes air and loose carbon fines from the new cartridges so that the membrane and faucet are not exposed to debris. After the initial five-minute flush, fill the storage tank once and drain that first full tank before normal drinking use.
Our stainless steel booster RO systems, such as the TQR03, use the same three-stage pre-filtration layout, so this flushing procedure applies exactly. Check the housing seams again after twenty-four hours, since a tiny drip may appear once the O-rings have settled.
 TQ-R03 Stainless Steel Booster RO with Dual OutletThis stainless steel system uses a three-stage pre-filtration layout with a self-priming booster pump, suitable for low-pressure or high-floor homes. Its dual water outlet separates pure and purified water, while the LED display shows filter life and TDS optimization.View Product →
Common Mistakes to Avoid
Most post-service problems come from small oversights rather than the procedure itself.
- Installing the new filters in the wrong order
- Overtightening the filter housings and cracking the seam
- Forgetting to lubricate or re-seat the O-ring
- Skipping the flush and letting carbon fines reach the system
- Using filters that do not match the system's micron rating
- Reusing a worn O-ring from the old housing
Maintenance Tips and Getting Help
Set a recurring reminder every six months and write the installation date on the housing with a marker while the system is open. A handheld TDS meter is a worthwhile investment: test the product water monthly, and if the reading climbs suddenly, the pre-filters are no longer protecting the membrane.
If you are not sure which replacement set fits your unit, talk to us. You can learn more about our factory and quality commitment on our about page.
For a complete deep dive into keeping your unit in top shape, read our comprehensive maintenance guide for stainless steel reverse osmosis systems.
Owners of front-and-rear composite systems such as the TQSR01 will notice that the cartridge layout is split into two banks, but the replacement rules stay the same: replace on schedule, flush, and check for leaks.
 TQ-SR01 Front and Rear Composite RO PurifierThis purifier features a front-and-rear composite cartridge layout with independent waterways, maximizing filtration contact and extending filter life. Its LED display with life prompts and optional Wi-Fi connectivity make routine maintenance straightforward, protecting the RO membrane.View Product →
Changing the three pre-filters on schedule is the single most effective routine maintenance you can perform on a reverse osmosis system. It is a simple job, it takes less than an hour, and it protects the membrane - the most expensive component in the system - for years to come.
-
 Tel: +86-0574-62381077/62386875
-
 E-mail: leozhanglei@nbtianqin.net
-
 Add: Wuma Industrial Zone, Lubu Town, Yuyao City, Zhejiang Province, China.
Copyright © 2024 by Yuyao Tianqin Water Purification Equipment Co..Ltd.
All Rights Reserved.
 Wholesale Water Purifier Manufacturers

